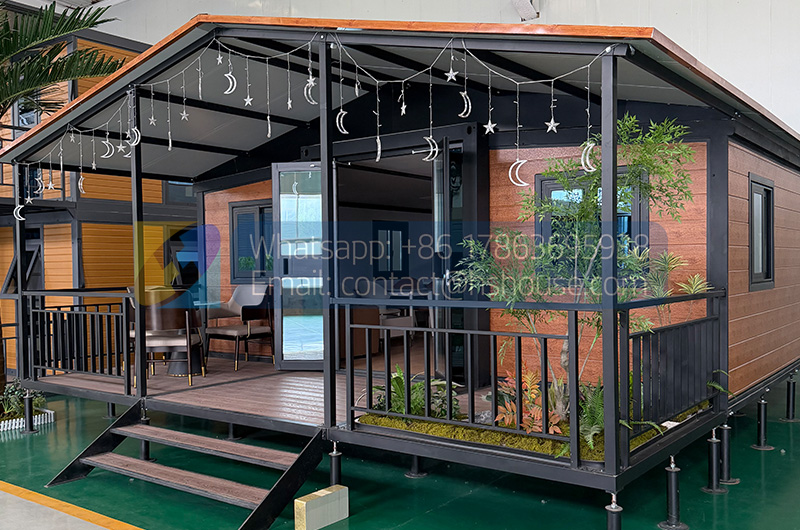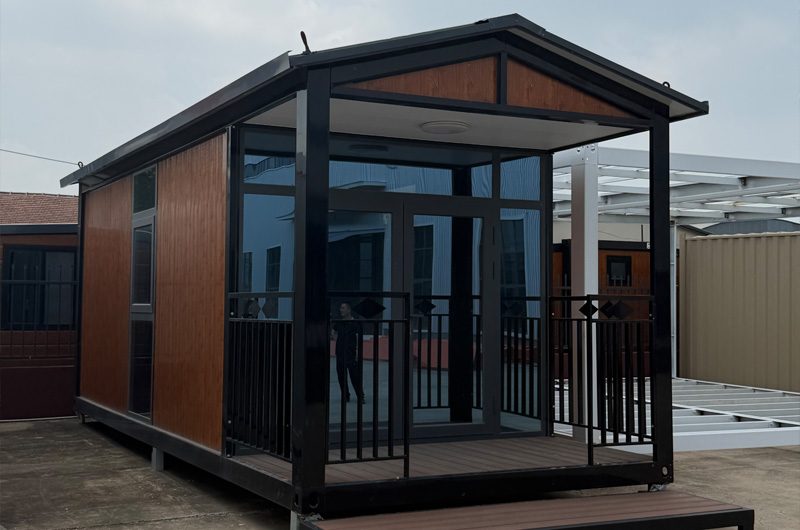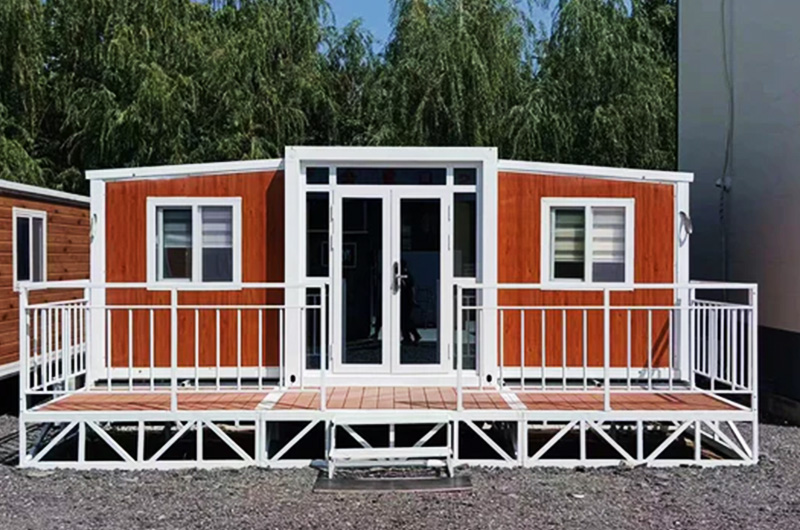





Expandable container house waterproofing is a system, not a single coating or a line of sealant. Roof surfaces, moving connections, door and window openings, service penetrations and site drainage all need to work together. Buyers should ask how these areas are detailed, installed and checked for their particular house.
An expandable house also changes configuration between transport and use. Parts that look protected while folded may need adjustment, sealing or inspection after deployment. The useful question is therefore not simply “Is it waterproof?” but “Which details keep rain outside, and who verifies them after the house is opened?”
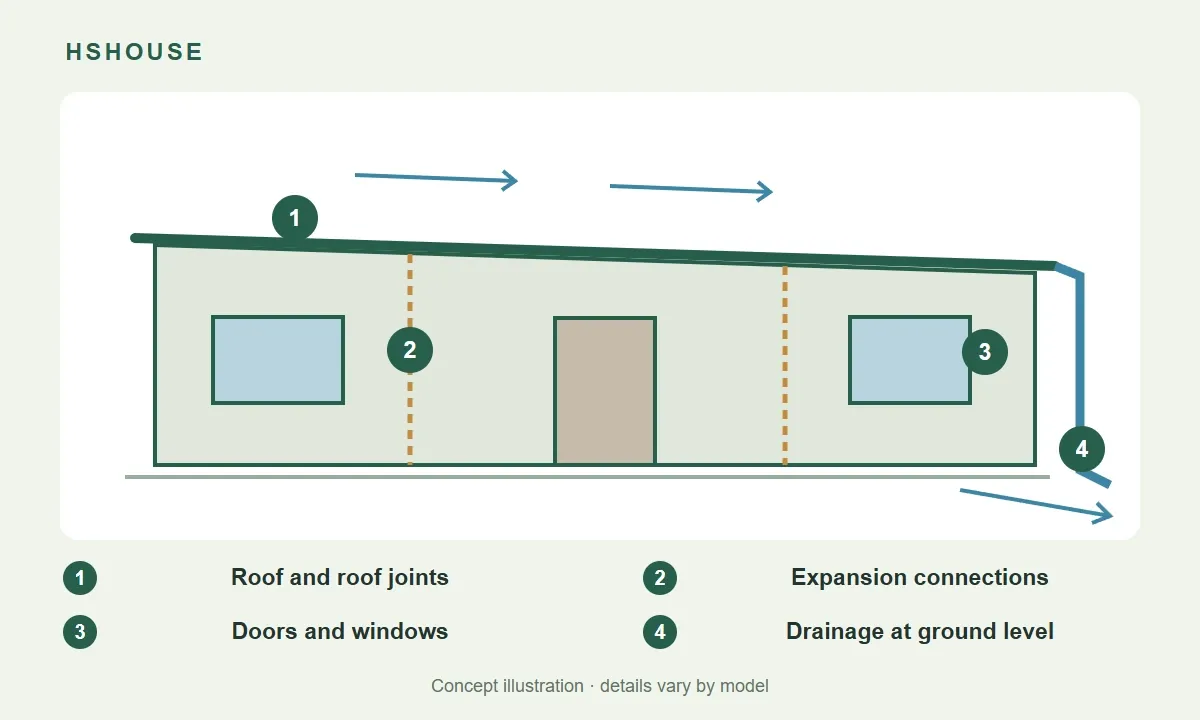
1. Start with a water-control plan
When reviewing the expandable container house range, request information for the actual model and destination. Ask for roof drainage drawings, representative joint sections, door and window details, and a list of work completed on site. A general photograph cannot show whether a hidden connection has been finished correctly.
A useful waterproofing proposal identifies both the barrier and the drainage route. Ask where rain is intercepted, where collected water leaves the assembly, and how that route remains accessible. A waterproofing claim should come with a drawing, a defined installation step and a way to inspect the result. Keep these documents with the approved specification rather than relying on a sales conversation.
The components do different jobs: flashing redirects water at a transition; a gasket seals through the compression specified for its joint; sealant closes an appropriately designed gap; and drainage provides a route out. Their positions and compatibility matter as much as their names. Ask which of these methods the selected assembly actually uses, rather than assuming every visible gap needs filling.
2. Check roof seams and transitions
The roof review should cover more than the middle of each panel. Ask about panel ends, junctions with walls, corners, fasteners and any change in roof level. Where cover pieces or flashings are used, request their dimensions, overlap arrangement and fastening method in the approved detail. Do not assume that every model uses the same roof construction.
For a flat roof expandable container house, ask how the designed fall leads to the outlet and how the installation team checks the final geometry. For a pitched roof expandable house with terrace, clarify which roof components are installed separately and how the complete drainage arrangement is finished. Neither shape removes the need to verify joints.
3. Give moving connections their own inspection
Expansion connections deserve separate attention because transport position and occupied position are different. Ask the supplier to identify every weather-exposed joint affected by opening the house. Which sealing components remain in place during transport? Which covers, gaskets or closure pieces are fitted or adjusted afterward?
Request a deployment checklist with a clear sequence and responsibility for each step. The crew should know which details must be photographed before trims conceal them. If a joint looks uneven after opening, obtain the supplier’s correction procedure rather than covering the symptom with an unspecified material. Retain the records by unit number, especially when ordering several houses.
4. Treat windows and doors as complete openings
Distinguish the performance of the window or door itself from the joint between its frame and the house. Ask for both sets of details. Review the head, sides, sill or threshold, and the intended route for water that reaches the opening assembly. Factory installation does not remove the need to inspect the surrounding connection after transport.
Confirm that doors close normally and that frames have not been distorted during handling or placement. Ask the manufacturer to identify intended drainage openings so they are not mistaken for gaps to seal. For entrances beside a terrace, request a section showing the threshold, exterior surface level and drainage arrangement together.
5. Include service penetrations in the scope
Air-conditioning pipes, cables, vents and plumbing can introduce openings after the main shell is finished. Agree their locations before production where possible. Ask who supplies the sleeves, collars, flashing or other specified weather seals, and who checks completed site connections.
Keep a record of later additions. A new opening for an internet cable should not disappear from the maintenance history simply because it is small. Before approving alterations, request a detail compatible with the wall or roof assembly. Avoid leaving the electrician, equipment installer and house supplier with different assumptions about responsibility.
6. Follow drainage to the finished ground
Review the full route from roof outlet to the site drainage system. Identify gutter and downpipe scope, their connection points and who provides the final discharge arrangement. Ask how blockages can be found and cleared, and whether the proposed design includes an overflow route where required.
Site preparation belongs in the same discussion. Confirm foundation levels, the approved support arrangement and the relationship between the house, paths and adjacent ground. Ask the site designer how rainwater will be managed around entrances and beneath or beside the building. Avoid accepting a roof-only drawing as a complete site water-management plan.
7. Compare the information behind each claim
| Area | Ask to see | Clarify before ordering |
|---|---|---|
| Roof | Drainage layout and joint sections | Site-installed parts and inspection points |
| Expansion joints | Deployed-position sealing details | Adjustment sequence and replacement parts |
| Openings | Frame-to-wall and threshold details | Factory work versus site completion |
| Services | Locations and penetration details | Responsibility for later equipment connections |
| Ground drainage | Discharge and entrance layout | Scope provided by the local contractor |
A practical way to close quotation gaps
Consider a small rental project where the house supplier delivers the units, while local teams install terraces and air-conditioning. Create a short interface list for the downpipe outlet, entrance threshold and each equipment penetration. For every interface, name who provides the detail, supplies the materials, performs the work and accepts the result.
If an offer says “ready for connection,” ask which tasks remain after delivery and whether inspection of those tasks is included. This list is not a waterproofing design. It is a record of responsibilities that prevents a necessary finishing step from being overlooked between contractors. Use the same list when reviewing completion photographs and handing the houses to the operating team.
Use this comparison for two offers covering the same floor plan and use. A cheaper quotation may omit an installation step or accessory rather than provide an equivalent solution. Ask for each unresolved item to be marked included, optional or locally supplied.
8. Separate rain entry from condensation
Indoor moisture is not automatically evidence of a leaking roof. Condensation can form when moist air meets a sufficiently cold surface. Rain entry, plumbing leakage and condensation call for different investigations, so recording the circumstances helps the supplier or site professional identify the next check.
Note when dampness appears, whether it follows rain, where it first becomes visible, and which ventilation or water-using equipment was operating. Photographs and a simple timeline are more useful than naming a cause prematurely. Heating, cooling, insulation and ventilation should be reviewed as a coordinated design rather than treating extra exterior sealant as the answer to every moisture problem.
9. Agree inspection and testing before shipment
Ask what inspection applies to the exact order: its scope, method, timing, acceptance criteria and retained evidence. If a water test is proposed, confirm which openings and joints it covers, whether it is performed before or after deployment, and what happens when a defect is found. A short demonstration video does not by itself establish performance under every storm condition.
Agree a separate arrival and completion check. Record transport damage before it is hidden, inspect the house after opening, and retain close-up photographs of completed connections. Any site water test should follow an agreed procedure carried out by appropriate personnel, not an improvised high-pressure spray that bears no relation to the specified test.
10. Plan maintenance from the beginning
Request a maintenance schedule suited to the selected system and environment. It should identify what to inspect, how to access it safely, approved cleaning methods and the process for obtaining compatible replacement seals or repair materials. Ask for additional checks after relocation, unusual weather or nearby work that may have affected the house.
For rental projects, give each unit an inspection record. Log observations, photographs, repairs and the person responsible. This helps separate recurring defects from a single blocked outlet or later alteration. Do not assume that any roof is suitable for walking; maintenance access must follow the house’s instructions.
Frequently asked questions
Can an expandable house be suitable for a rainy location?
Suitability depends on the specific design, installation and site. Send the destination and exposure conditions before quotation, then request the proposed details and relevant evidence. Avoid treating “waterproof” as an unlimited guarantee for every climate.
Is more sealant always better?
No. Ask for the specified product, preparation, joint arrangement and application procedure. An unapproved repair may conceal the original issue or obstruct an intended drainage opening. Have the cause and approved detail checked first.
What should the warranty explain?
Ask which components and workmanship are covered, who handles site installation, what maintenance is required and how a claim is documented. Confirm responsibilities when accessories or equipment are installed by another contractor.
Request waterproofing details for your project
Send HSHOUSE your destination, intended use, preferred size, quantity, roof preference and any planned terrace or equipment penetrations. Request the relevant joint drawings, drainage scope, installation checklist and quotation exclusions together.